
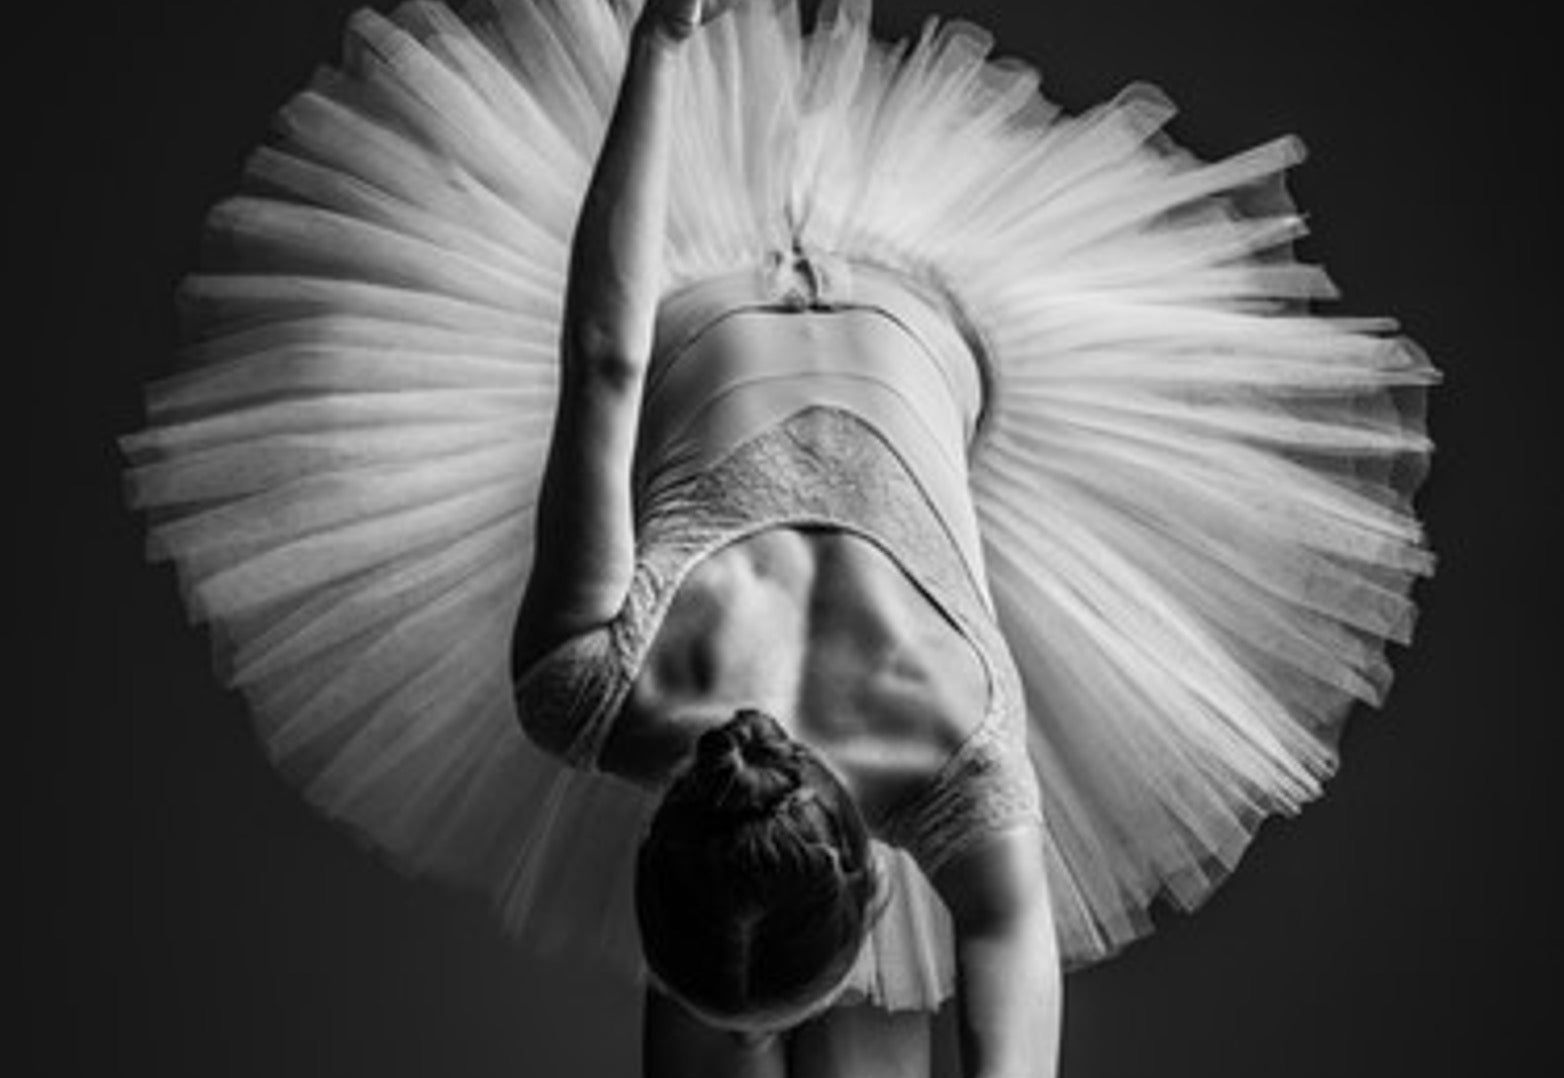
Essentials for Hair - The ballet bun

Hair is an important part of practice or a performance – just like make-up or your costume. It is especially important for competitions where you are being judged not only on your dancing, but your grooming and appearance too. The ballet bun is also practical way for dancers to keep their hair up, out of their eyes and close to their head so that it doesn’t interfere with turning and spotting. The most popular bun-making techniques involve twisting and wrapping your ponytail into a bun shape (some dancers with shorter hair use a small donut-shaped sock!).
WHAT YOU NEED:
- Spray bottle with water
- Brush
- Strong hold hairspray – Aquanet is great
- Hair ties
- Bun Doughnut, bun socks, bun wrings (optional accoutrements)
- Pins for hair (U shape are best)
- Hairnet

But no matter how you create it, a classic ballet bun must be well-secured, smooth and neat—here are seven tips to give your bun the prima ballerina treatment:
- A secure bun starts with a secure ponytail. Brush your hair back into a tight ponytail—position it on your head wherever you want the finished bun—and secure with a hair elastic.
- If your hair is very thin and fine, use hairspray and a bit of teasing to give your ponytail some volume and texture. You can also spray your hairpins with hairspray so they will grip your hair more effectively.
- If using the ponytail “twist” technique, continuously twist your ponytail tightly as you wrap it around your ponytail bun to keep stray ends from breaking free.
- Press your hand flat on top of the bun as you wrap the hair to prevent it from getting too high. If your bun sticks out like a doorknob, you are probably wrapping the end of your ponytail too close to the elastic.
- If your hair is short or heavily-layered, it helps if your hair is slightly damp. Use a hair net that matches your hair color over your ballet bun to contain any stray ends.
- U-shaped hairpins are best for holding a bun in place. Unlike a bobby pin, which is designed to grab hair with the ridged side down, the hairpin goes in flat. When anchoring the bun with hairpins, direct each pin down toward the scalp at the edge of the bun, grabbing some bun hair. Then, “scoop” a bit of the scalp hair with the tips as you direct the pin into the base of the bun, parallel to the head.
- Use a smoothing brush and a small amount of hair gel or spray to get rid of any wispy hairs around the hairline. If any of your hair doesn’t reach the bun, twist small sections of loose hair and secure them with bobby pins (ridged side down) or triangular snap clips that match your hair color.
A traditional ballet bun is very simple and easy to do! It looks elegant on stage and will complete your ballerina look!

HOW TO USE A BUN DOUGHNUT
Bun doughnuts have become the latest craze in fashion and are now being used more often in dancing too. The doughnut that you chose to use for your bun should be as close to the color of your hair as possible so that you will not be able to see it. Bun doughnuts also come in a range of sizes so you can pick one that suits the length and thickness of your hair.
- Dampen hair with some water
- Brush hair until smooth. No tangles or knots
- Brush hair into a ponytail. Should be in line with your ears
- If there are still some bumps in your hair then spray some hairspray and use comb to smooth them out
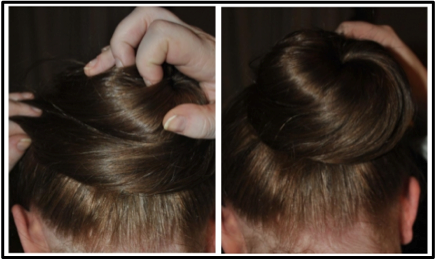
- Pull the ponytail through the bun doughnut so the donut is sitting at your head and the ponytail is hanging through the opening
- Spread the hair from your ponytail in every direction (like a water fountain) over the doughnut to cover it
- Place a hair tie the same color as your hair around the bun to secure
- Tuck the loose ends of the you hair under the bun
- Use a thin Hair net with an elastic edge and place over the entire bun to give neat secure look
- Use pins to secure the bun in place
- Spray some hairspray over your hair to give smooth finish

Try to tuck the loose ends of your ponytail under your bun rather than twisting the chunk around your hair. It looks neater and more like a ballet/dance bun.
Here is a great YouTube tutorial that I found online to help you use the doughnut:
http://www.youtube.com/watch?v=882m4QKu0sg
However if you have long or thicker hair, it can be hard to tuck all of the loose ends under the bun so I have provided another option instead of securing with the hair tie and twisting the ends around the bun. Once you have completed step number six, follow these steps:
- Holding the center of the bun, push the loose hair ends around the bun to create a smoother look
- Use a hair net and pins to secure in place.
- Spray some hairspray over your hair to give smooth finish
SOME MORE TIPS:
- Too many pins my bun becomes heavy and the pins may begin falling the bun falling apart. Only use enough pins so that your hair feels secure.
- Dirty hair may work better than clean hair
- A smooth ponytail to begin with. It is easier to smooth out the bumps before you finish the bun. No bumps or fly-away strands of hair gives a neater and clean look.
- Using a bun donut can help you achieve a perfect bun shape but isn’t necessary.
- You don’t have to use a bun donut. You can use any other devices. Some people even use a rolled up sock with the toe section cut off! You can find some great tutorials online for alternatives to bun donuts.